So you want to start a raised bed garden. Pinterest, social media gardening accounts, and company ads are pushing images of garden bed thirst traps: well planned spaces with rows upon rows of beautifully uniform raised metal or wooden beds, some with trellising systems, and maybe some overhead string lights for a little extra oomph.
That’s the dream, right? Snap your fingers and have 6 -10 capacious garden beds with enough height that you don’t have to break your back tending to them, within a quaint outdoor area where you can set up a table and chairs and marvel at the food you grow.
But if you clicked through any of those accounts to the products they used, you probably also saw the cost per unit and stopped dead in your tracks 🤑🤑🤑.
Where Do I Start?
The first thing you need to do is be real with yourself about how much money you have to invest in this upfront, how much time you want to put into the build, and how much capacity you have for navigating choice before decision fatigue sets in. Then you need to consider functional elements both for yourself and the type of food you want to grow. And all of that has be weighed against the aesthetic you’re trying to achieve.
Most of the pretty gardening accounts either use fairly tall metal or wooden beds, but there are other option. Raised beds also come in composite materials, weather resistant plastics, you can build them from concrete blocks or landscaping stones, or you can simply have a raised bed garden made from a collection of very large pots – terracotta, ceramic, metal, composite pots, or fabric grow bags. I’ve tried most of these and there are pros and cons to them all. I’ll leave the plastic beds alone, the pros/cons are pretty evident.
Pot-Based Gardening
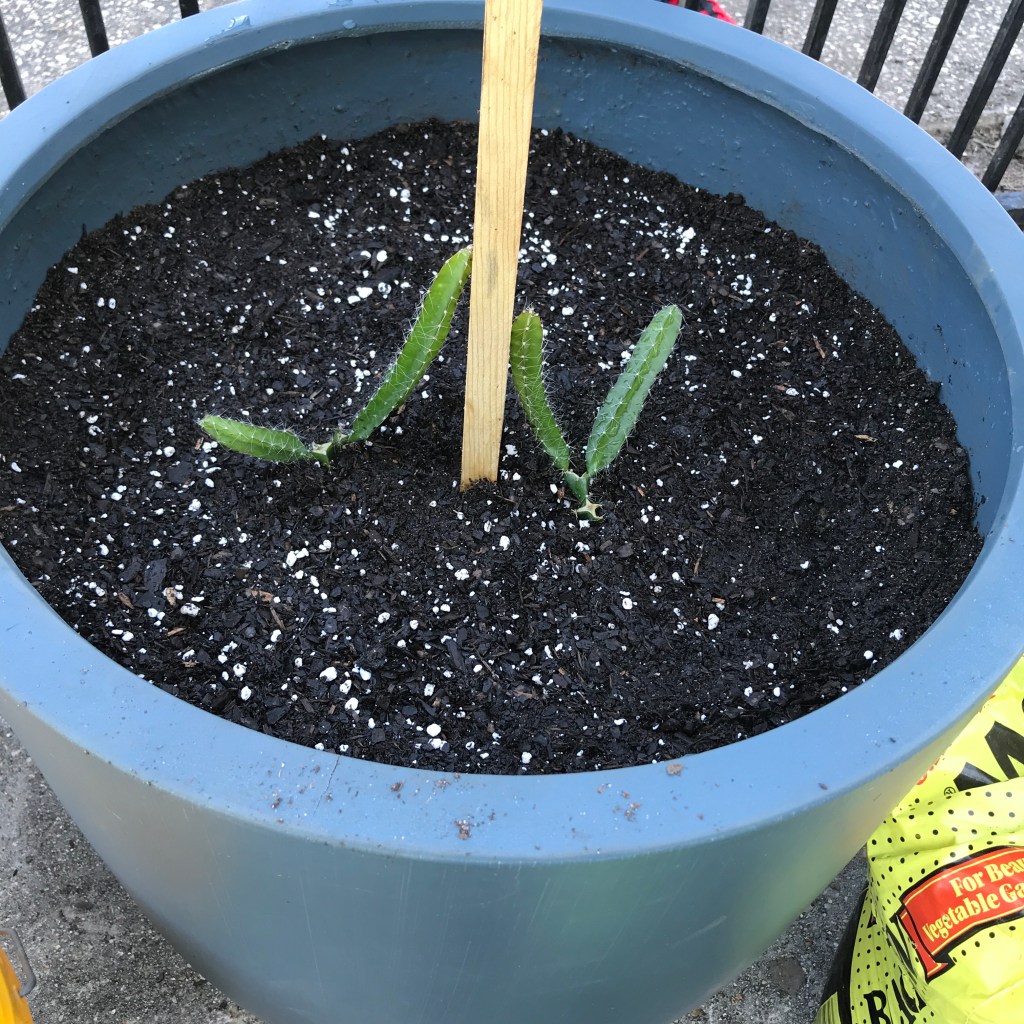
I got this large composite planter from West Elm originally for my dragon fruit trees but now it houses my olive tree. Originally priced it would’ve been about $250 but it was on sale at the time for about 50% off. A few years later I got two other smaller composite planters from that bullseye-store-that-shall-not-be-named that were about $80 each. They’re currently housing an aloe plant and a prickly pear, but I’ve also grown a massive lemongrass bush in them.
.
Larger pots can vary pretty wildly in price, largely based on the brand name of the company you buy it from, but also dependent on material. I’ve had these composite pots for 5-6 years now and although the color has faded, they don’t seem to be cracking at all. I could easily spray paint them to give them another life.
I’ve also used multiple sized grow bags, and successfully grown sweet potatoes in the larger ones, as well as herbs, okra, and a variety of other vegetables in the smaller sized bags.
Pros: Durable – larger pots can handle plants with a decent root system or that are slower growing; Economical – grow bags can accommodate most garden vegetables and are washable to be reused; Space Saving & Movable – if you don’t have a large yard, only have patio space, or are renting, this is a great option.
Cons: Pricier – Larger pots are fairly pricey for less square footage compared to other raised bed options at the same price; Limited – vegetables will grow, but certain varieties may be stunted in production, especially if the plant needs a lot of space for its root system.
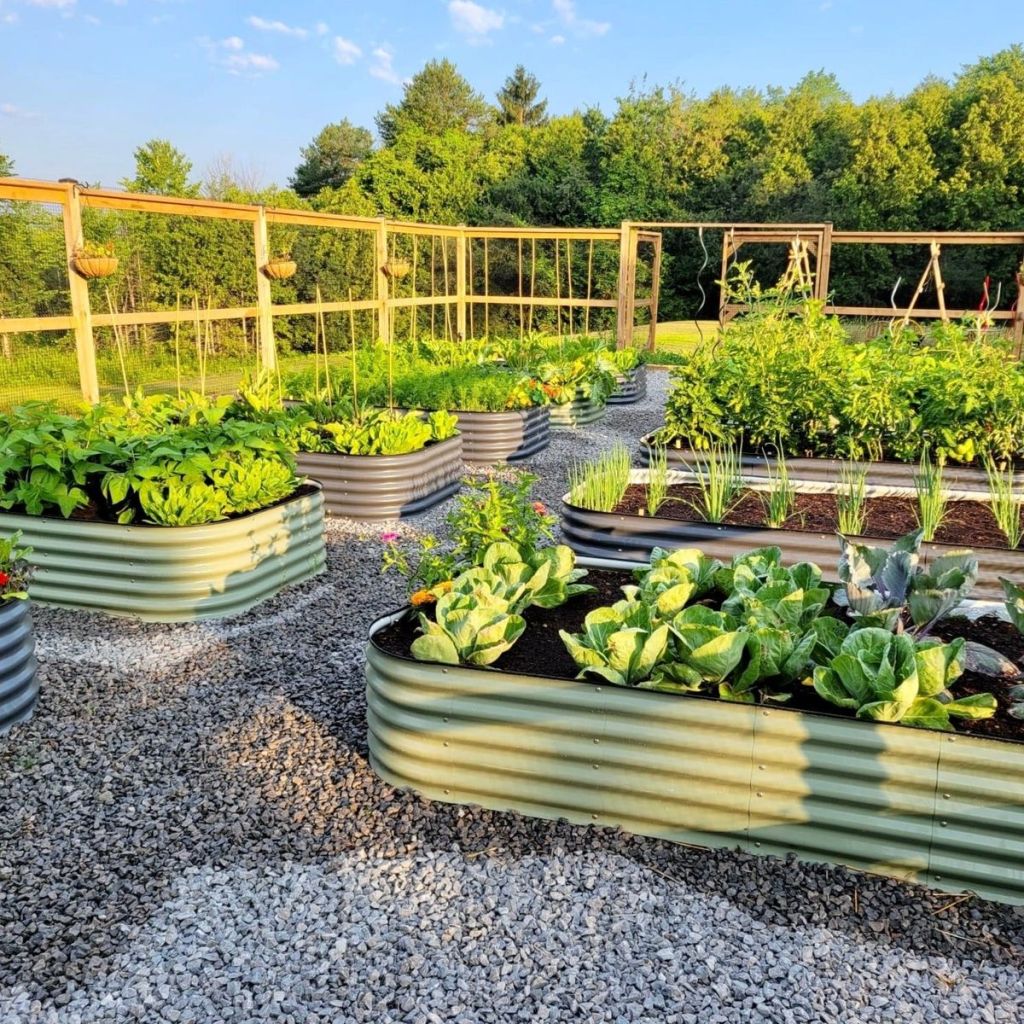
Metal Raised Beds
There are many types of metal beds, but the ones you’re probably seeing most are either the Birdies Beds sold by Epic Gardening or the ones sold by Vego Garden. Both companies use a specific type of steel and offer a variety of sizes, heights, and configuration, including some round ones and u-shaped options. Other metal bed options include those made of galvanized steel in a variety of colors, powder coated galvanized steel, and corten steel. Some beds have the corrugated face and others have smooth faces.
Pros: Durability – they’re rust resistant; Customizable – the modular types offer different configurations; Easy Assembly – no special tools are required other than the provided Allen wrench, and can typically be done by one person; Aesthetically Pleasing – you get that Pinterest worthy look in your yard.
Cons: Ease** – for people with dexterity issues there are hundreds of nuts, washers, and screws that need to be tightened that could pose difficulty; PRICE –
- In 2020 I bought four, 15” high, 6-in-1 metal raised beds from Epic Gardening: $663
- If I were to buy them today, they’re $720 on sale (medium) but $960 regularly.
- Vego Garden beds are comparable to the Epic Gardening Birdie’s Beds
- I later purchased two off brand, 17” high, 8 foot long, 9 in 1 modular raised metal bed from Wayfair on sale for $190 with tax, and right now they’re about $115 ea.
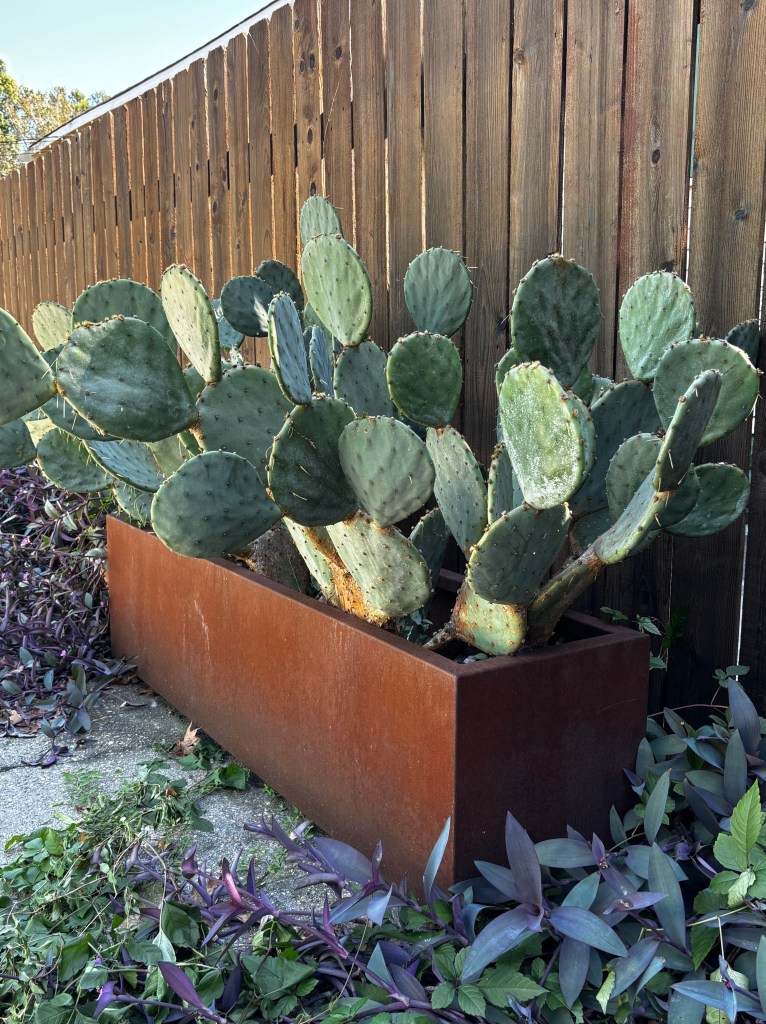
- I also bought a corten steel planter from Wayfair, 60” in length, closed bottom, for my cactus in 2020 at $330. Surprisingly the price hasn’t really changed over time. It comes silver, and as it sits in the elements, it develops the pretty rust color, but it’s not the destructive rust to worry about.
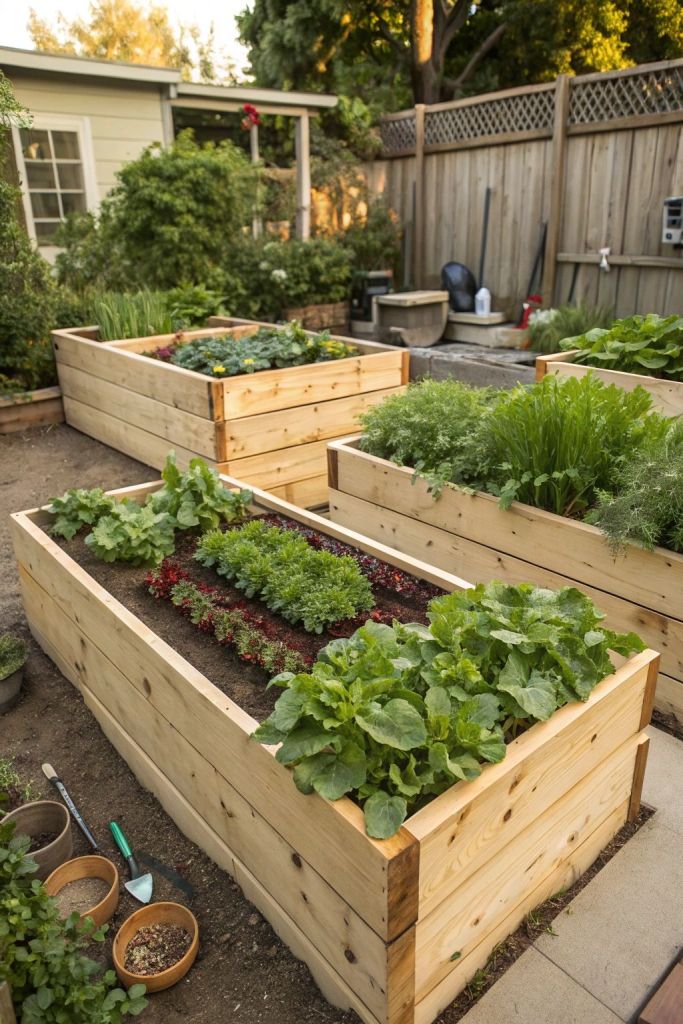
Wooden Raised Beds
I’ve never attempted to deal with wooden raised beds. Living in Louisiana, the humidity, rain, the flooding in my yard, and the annual termite swarms always made me wary. But plenty of other people in New Orleans grow in wooden raised beds.
You can purchase pre-fabricated wooden raised beds from most big box stores that can go anywhere from $60 to over $1000 depending on the unit you purchase. The quality of the lumber they use may be questionable. You can also DIY your own beds and have more control over quality, wood type, cost, and the exact size and shape you want. Both Home Depot and Lowes can cut your lumber down to size, eliminating the need for owning bigger tools at home.
Using rot resistant wood varieties like Cedar, Cypress, or Redwood, will ensure the most longevity v. Pine or Fir (which seems to be what many of those prefabricated units are made of). Resist the urge to use pressure treated lumber, the jury’s out on whether it’s unsafe.
The absolutely easiest entryway into raised bed gardening would be to use these concrete planter blocks as corner pieces and slide 2×6 boards into the sides. It’s cheap, you can stack the blocks to create height, and you only have to decide on the length of 2×6 boards you want, which can be cut at the store. Assembled in < 20 min.
Pros: Lower entry cost – especially if you build your own beds; Highest Customizability – you can really make any dimension you want with wood; Aesthetically Pleasing
Cons:
- Requires tools – at minimum, some power drills if you’re assembling a pre-cut bed or get your wood pre-cut, but otherwise you’ll need things like a mitre saw
- Higher Decision Load – if you’re designing your beds you have to consider all the dimensions, create your cut list, determine and source your wood type, ensure the quality of your lumber – you don’t want warped wood, get the correct type and quantity of fasteners, etc.
- Durability – the biggest drawback to wooden beds is that it will rot out over time
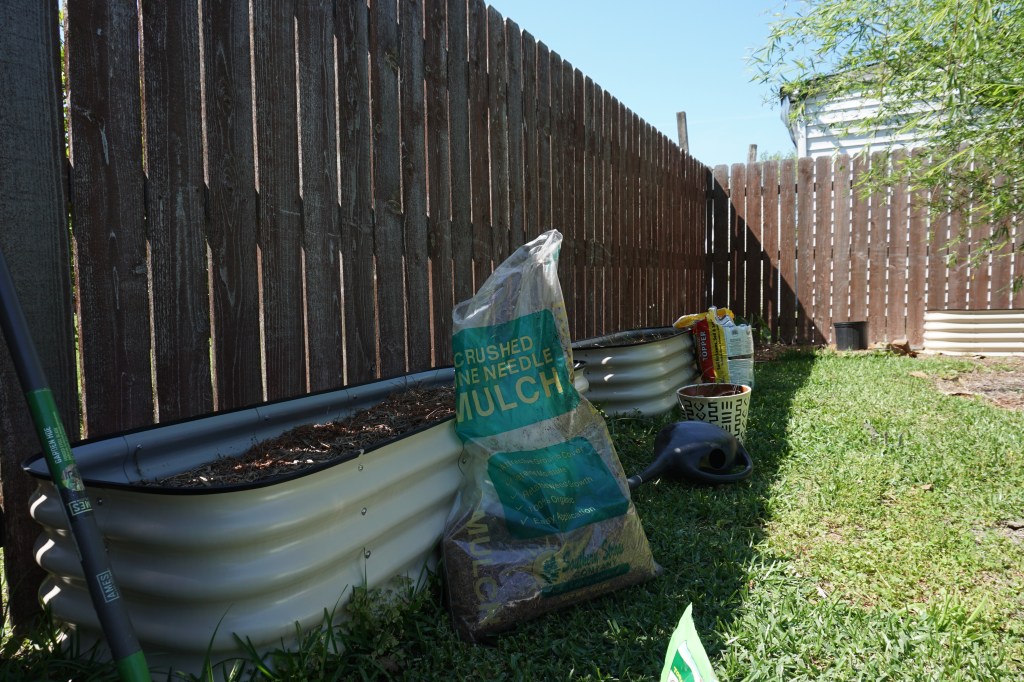
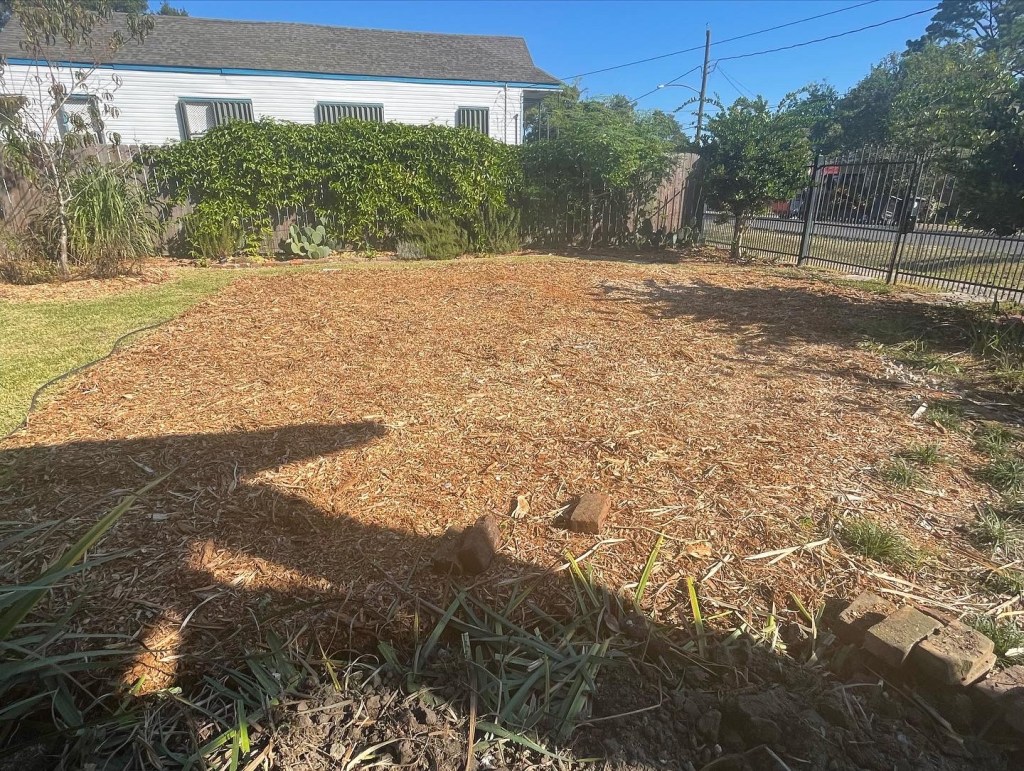
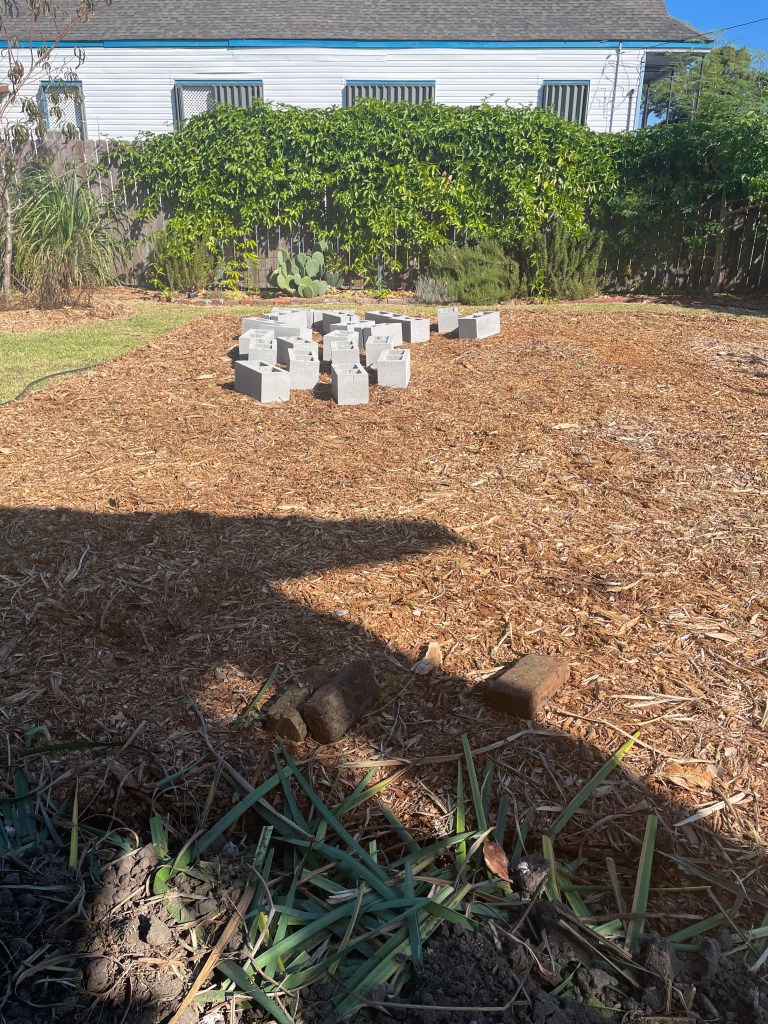
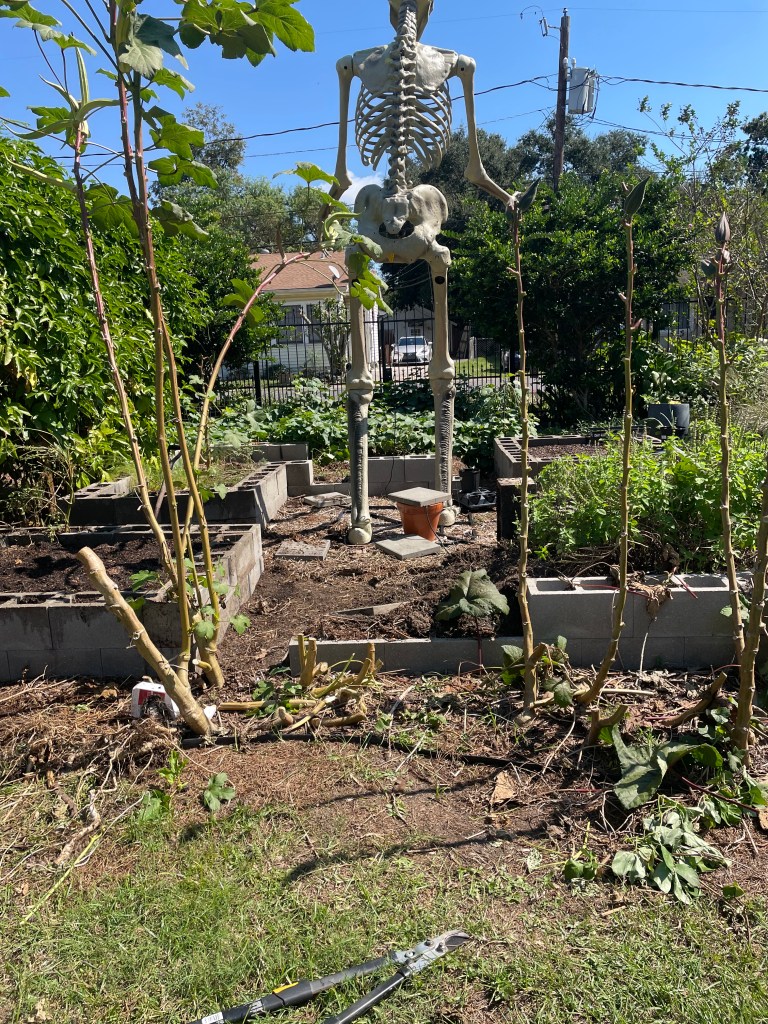
Why I Chose Concrete
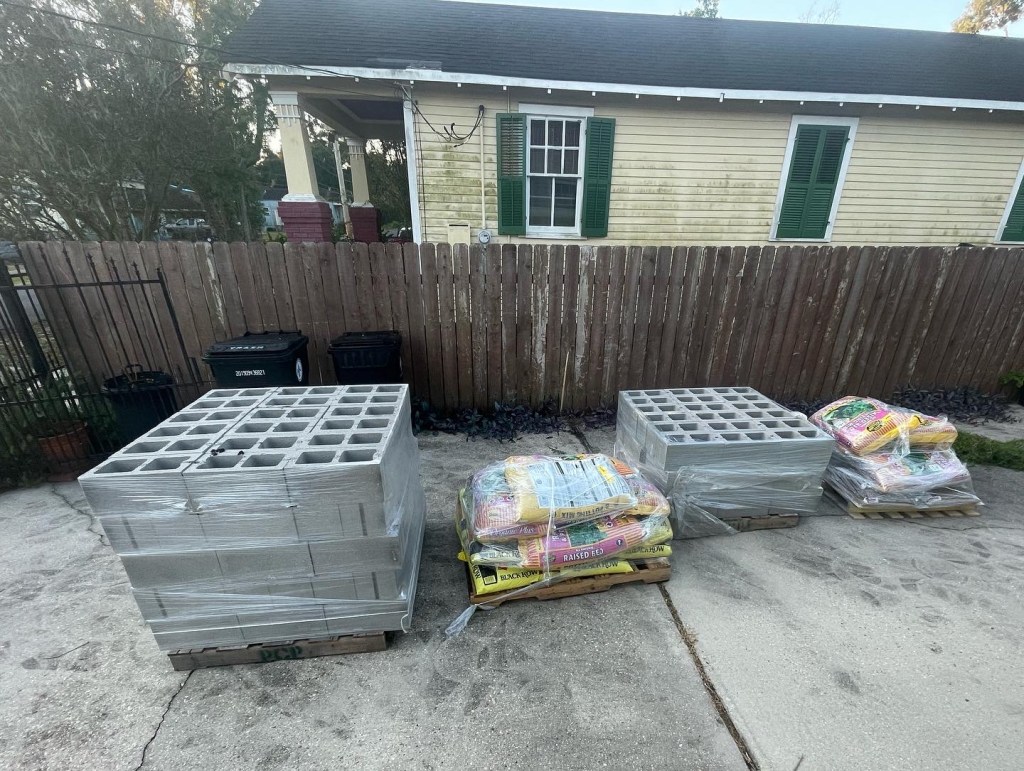
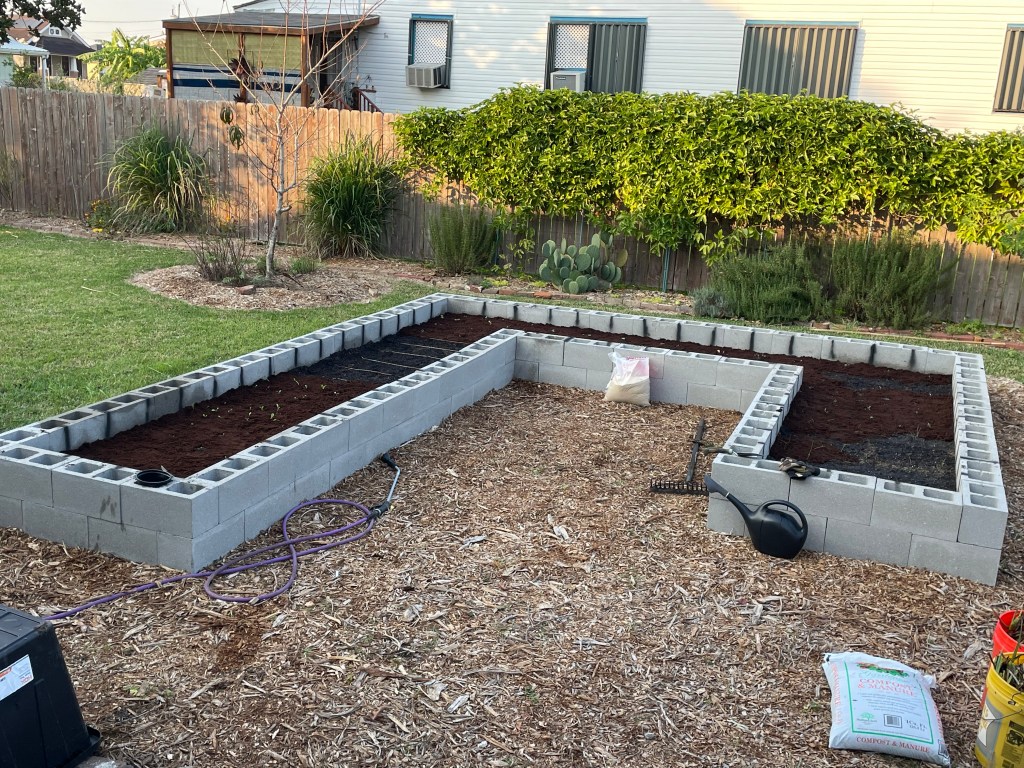
When I was finally ready to foray into some serious planting, I went with concrete blocks, primarily because of the cost. The palette of concrete blocks (144 units), 10 bags of organic raised bed soil, 10 bags of black kow compost, 12 bags of sand, 35 bags of regular compost, 10 bags of top soil, a tube of construction glue, plus two deliveries totaled $810!!
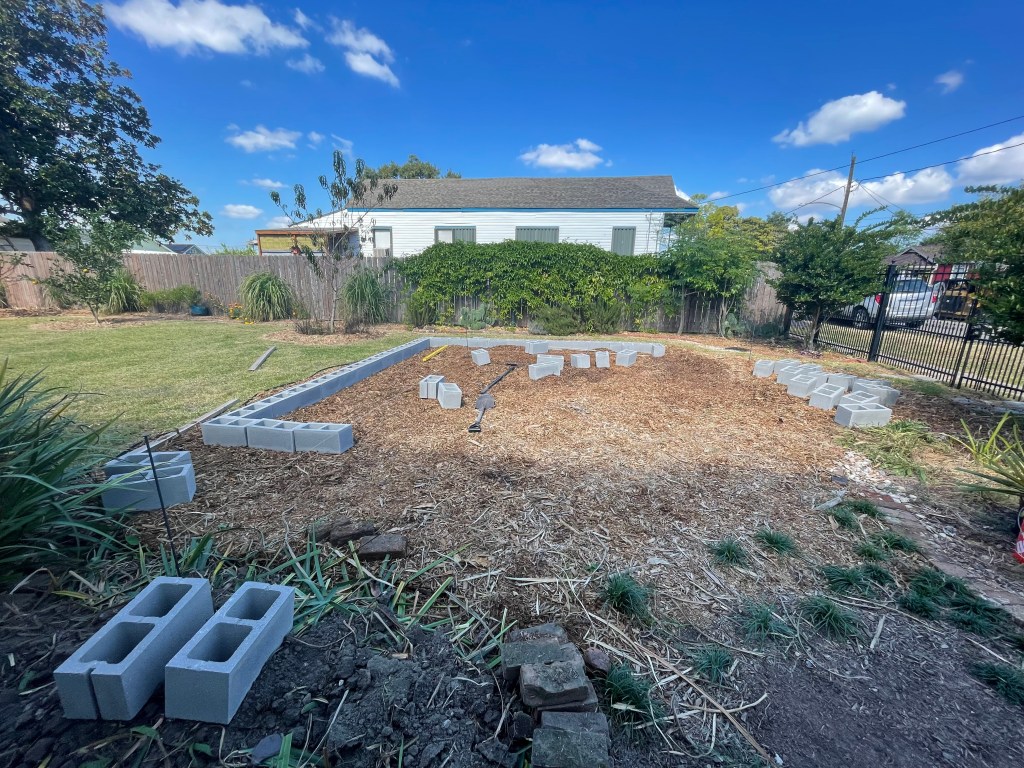
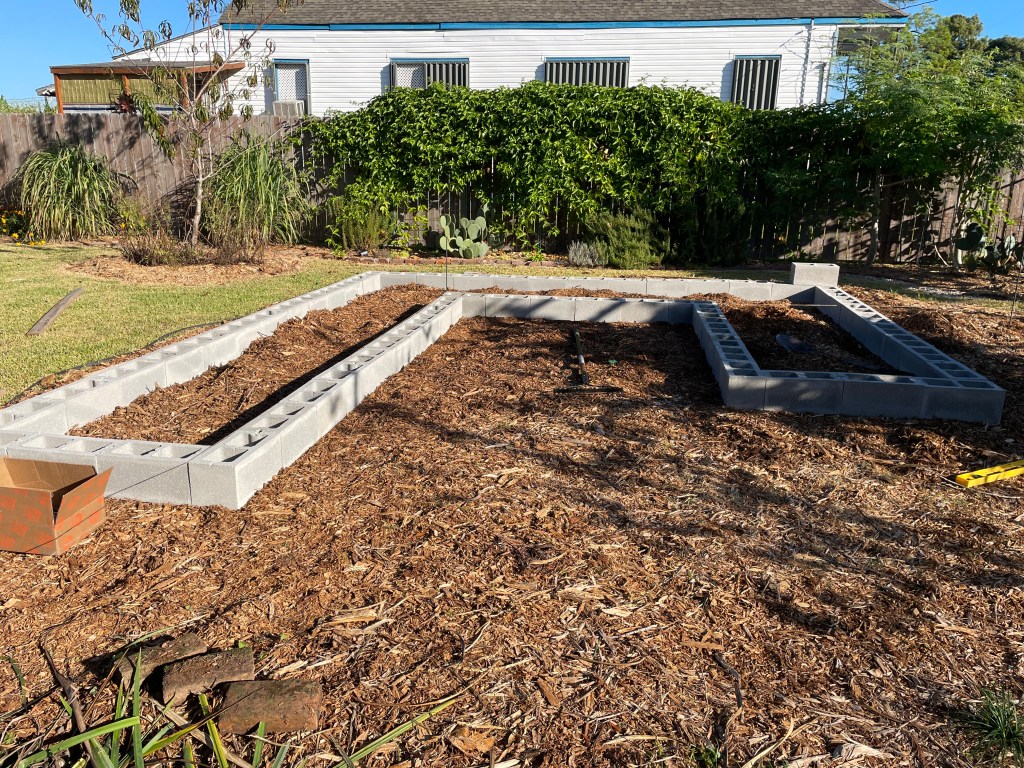
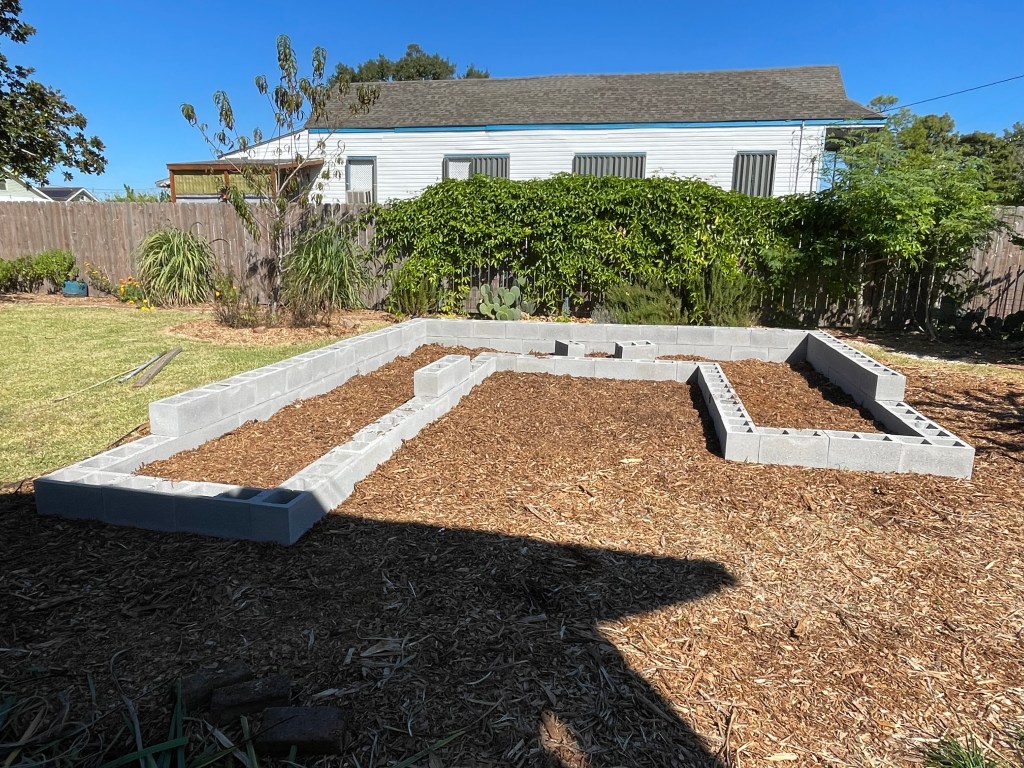
Remember – 4 medium sized, metal raised beds regularly costs $950 today. While I never measured exactly how many square feet of planting area my concrete block bed has, it’s easily 3 times more space than the 4 metal beds I currently have combined. I chose to stack two rows of concrete blocks, but if I’d only done one row, I’d have twice the amount growing square footage with the same amount of material. Lots of possibilities.
Pros: Durability – the blocks never degrade; Compartments – you can use the holes for additional planting area; Ease – no special tools are required; Flexibility – you can stack blocks create height; Reusability – take it all apart and build it differently.
Cons: Although there’s no special tools required, if you want your bed to be level, square, and plumb, then you’re going to need some PATIENCE and PREPARATION. While you can plop an open bottomed metal bed or wooden bed on the ground and just make it work, if your ground surface is uneven the blocks will not lineup.
**If you don’t care about perfect aesthetics, then put the blocks on the ground and keep it moving. The food will grow whether the blocks lineup or not. The dips and gaps just give it character. I did put some effort into leveling the ground beforehand, but my mistake was building on top of a thick layer of mulch. It settled and decayed, and the ground underneath my bed shifted, causing it to look a little wonky.
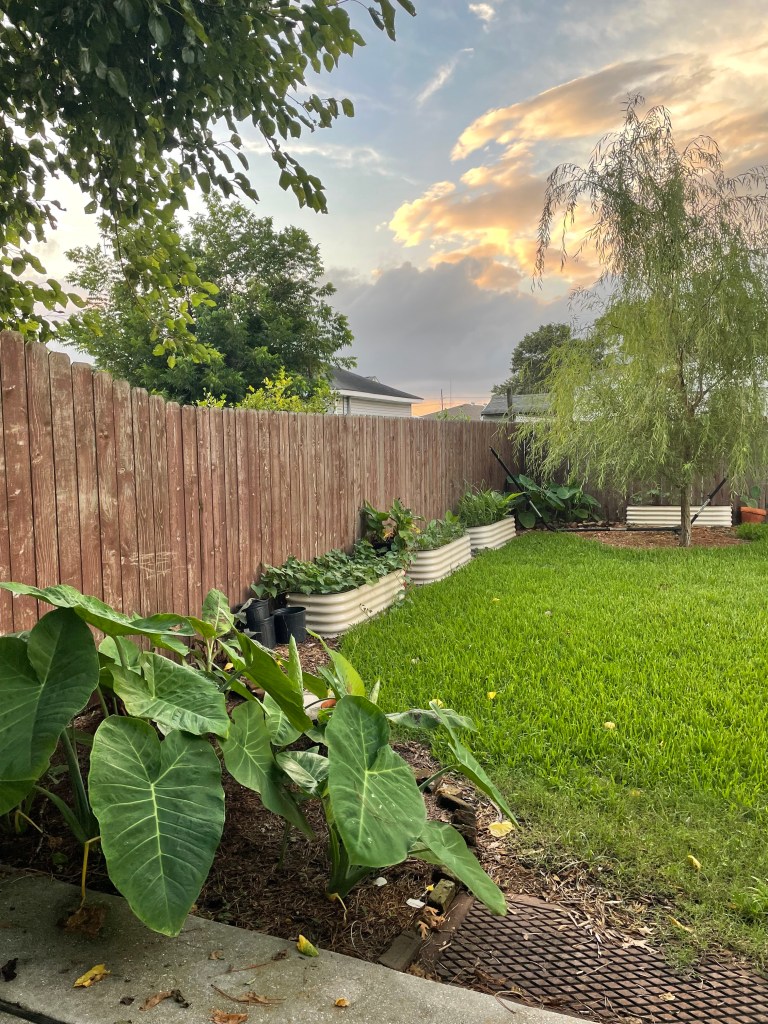
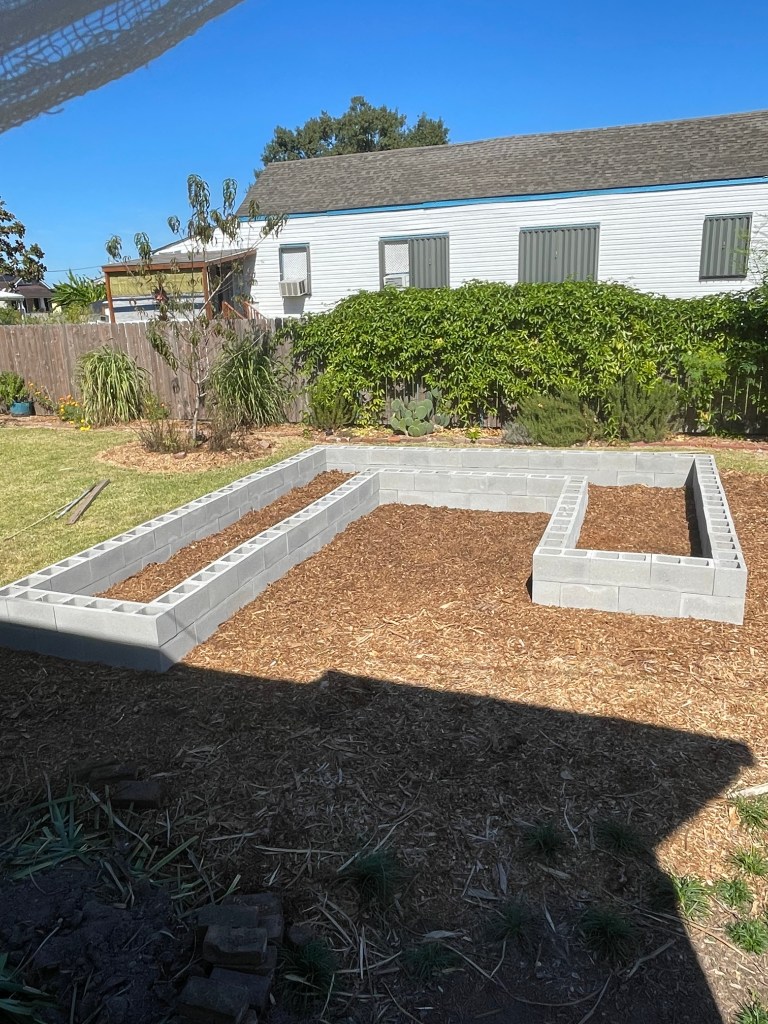
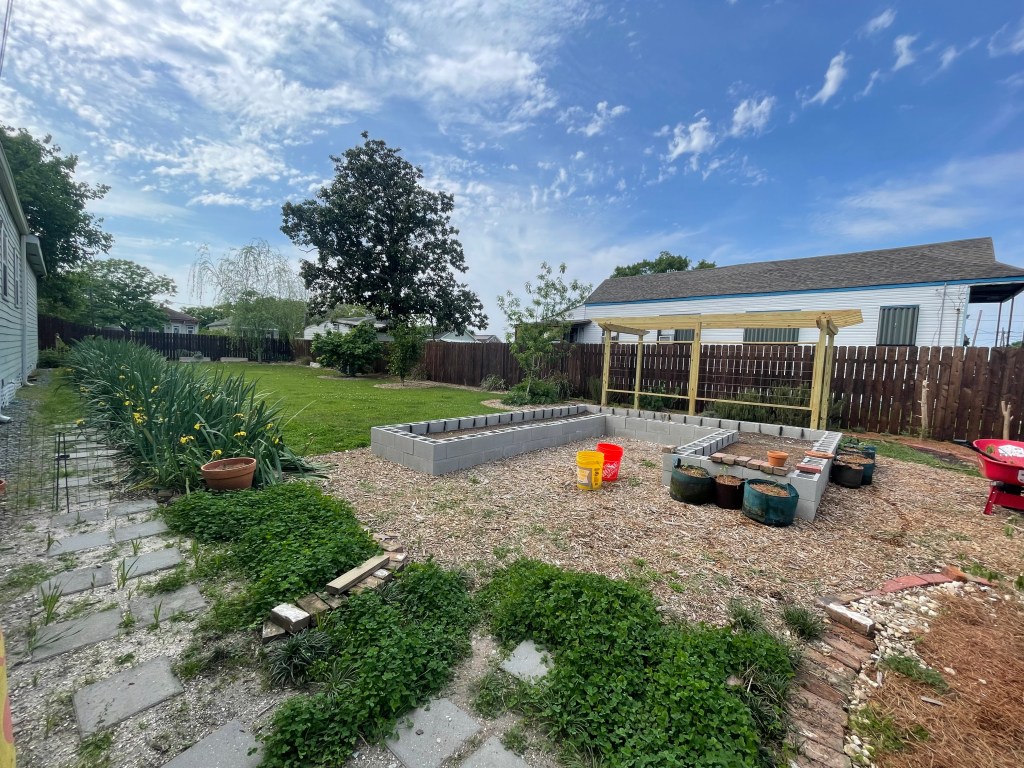
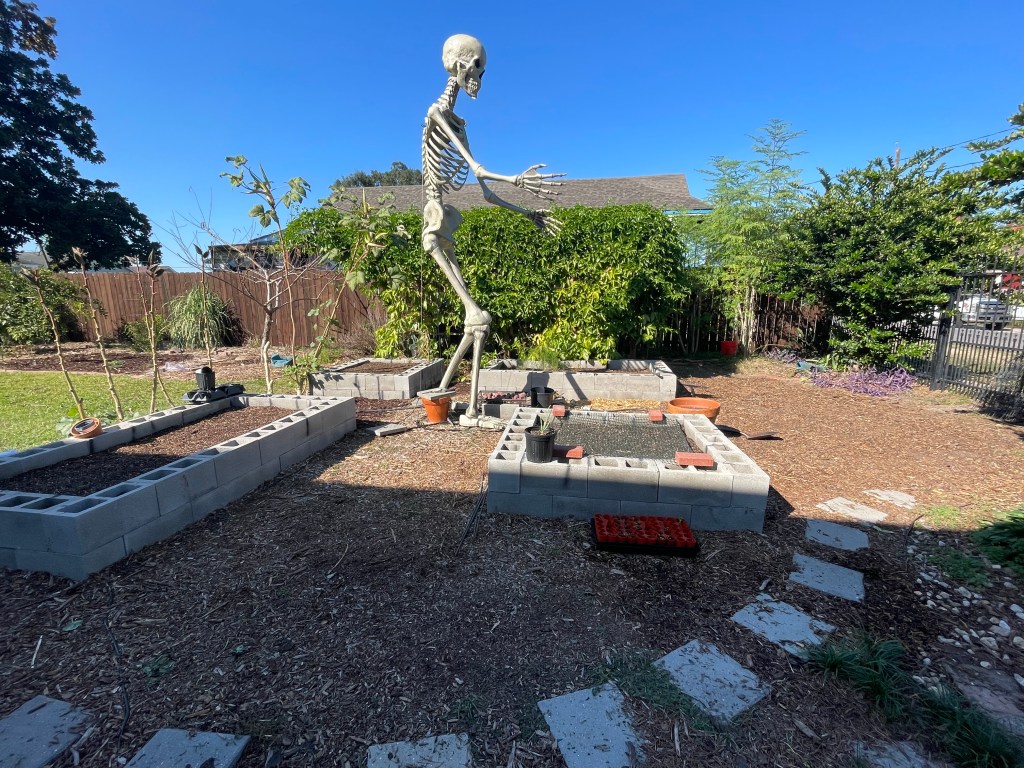
In 2024, I realized I didn’t like having one big U-Shaped bed because it limited access from the front to the back of my yard. That plus the sinking led me to take it apart and reconfigure the layout. I dug the dirt out of the sections where I wanted to create a path, removed the blocks, re-leveled the base layer, and then created four separate beds.
Tips:
- Decide how many beds you want, whether you want one big bed like I originally did, or several small beds, like I have now.
- Each block is 8 in x 8 in x 16 in. When calculating the number of blocks you’ll need, remember you’ll have an interior square footage, aka your planting area, and a structural square footage, aka the dimensions of the overall bed
- If you stack, you want to stagger the next row up. Sometimes this results in uneven end points where you need just half of a block – they sell those too
- Prepare the ground thoroughly and ensure you have a level surface – The blocks have to be level with themselves, to their neighbor next to them, and to block parallel to it on the other side of the bed.
- Some stakes, string, and a line level, would make things easier, or even just a long heavy duty level. A tamp could be a good investment to get the ground even.
- Optional: create a foundation layer of pea gravel and sand just below grade, to ensure you’re building on stable ground. This will be essential if you stack more than two rows of blocks high.
- Use an adhesive, like construction glue or mortar, in between rows. This is less necessary for two rowed beds, but any higher, and you’ll to want the added stability. I used construction glue the first round, but not so much that I couldn’t pull the bocks apart when I decided to rearrange them. Mortar is obviously more permanent.
- Make sure to get a good quality soil, or make your own blend. If you build a raised bed with more height, fill it halfway with other organic material (e.g., leaves, mulch, clippings, branches, logs, etc.) to take up space so you don’t spend as much money on quality soil that your plants will never utilize because it’s far deeper than it’s root system.

Leave a comment